## Project Background
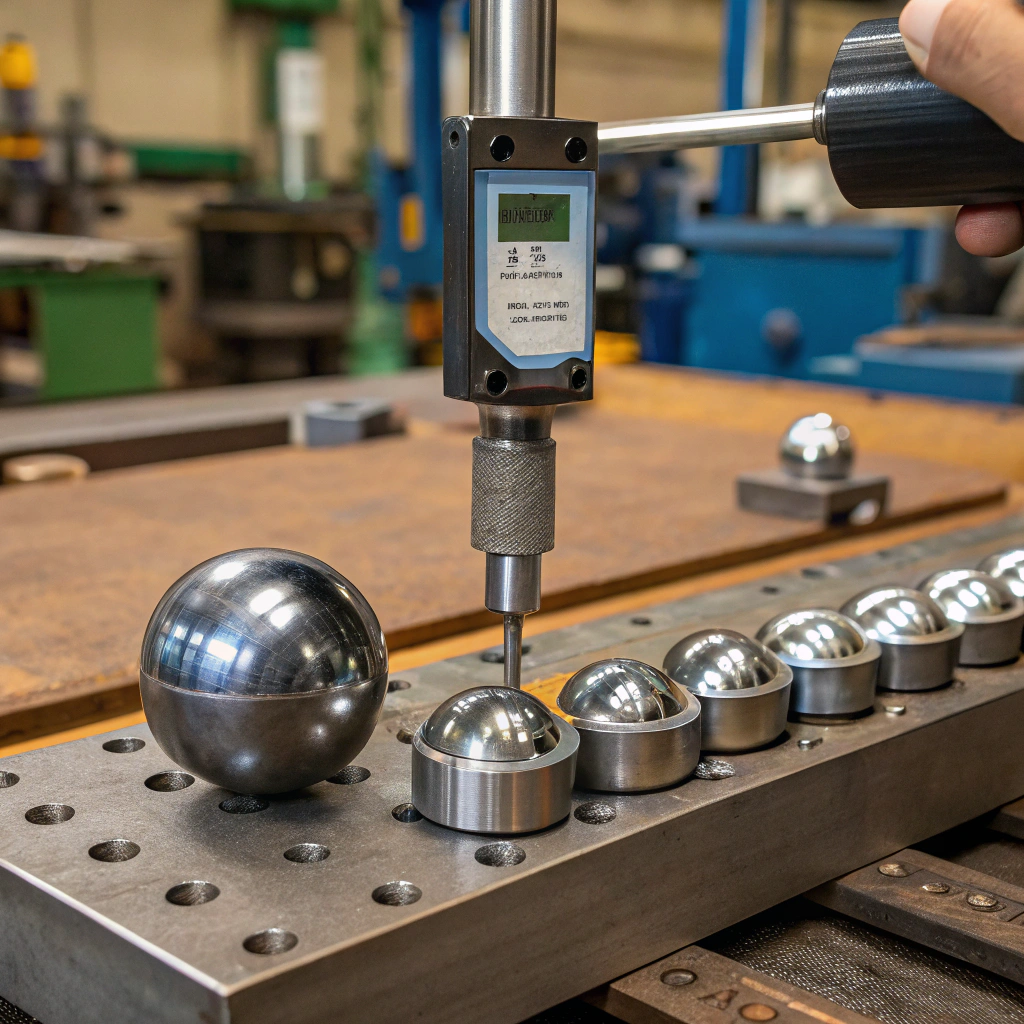
The client is an internationally renowned precision measuring instrument manufacturer, specializing in coordinate measuring machines, vision measuring systems, and other high-precision measuring equipment. In developing next-generation ultra-precision measuring equipment, they faced the following technical challenges:
• Measurement accuracy requirements of ±0.1μm
• Thermal deformation caused by temperature changes affecting accuracy
• Long-term wear leading to accuracy degradation
• Need for stable operation in constant temperature environments
• Extremely strict requirements for probe systems
## Technical Challenges
### Environmental Requirements
– **Temperature Control:** 20±0.5℃ constant temperature environment
– **Humidity Control:** Relative humidity 45-65%
– **Vibration Control:** Vibration isolation platform, vibration <0.1μm
– **Cleanliness:** Class 10 clean environment
### Performance Requirements
– **Thermal Expansion Coefficient:** <3.0×10⁻⁶/℃
– **Elastic Modulus:** >300GPa
– **Density:** 3.20-3.25g/cm³
– **Sphericity Accuracy:** G5 grade
– **Surface Roughness:** Ra<0.01μm
## Product Selection
### Technical Parameters
– **Product Model:** Silicon Nitride Ceramic Ball
– **Specifications:** 3.175mm G5 precision
– **Quantity Required:** 5,000 pieces/year
– **Special Requirements:** Ultra-low thermal expansion coefficient
### Material Advantages
– **Low Thermal Expansion:** Thermal expansion coefficient only 2.8×10⁻⁶/℃
– **High Rigidity:** Elastic modulus 310GPa, 1.5 times that of steel
– **Wear Resistance:** Hardness HV1800, excellent wear resistance
– **Stability:** Long-term dimensional change <0.01μm
## Application Verification
### Thermal Stability Testing
– **Temperature Cycling:** -20℃ to 60℃, 1000 cycles
– **Dimensional Change:** Test results <0.005μm
– **Linearity:** Maintained within ±0.02μm range
– **Repeatability:** Measurement repeatability σ<0.01μm
### Long-term Stability Testing
– **Continuous Operation:** 8760 hours continuous testing
– **Accuracy Retention:** No significant decrease in measurement accuracy
– **Wear Amount:** Spherical wear <0.002μm
– **Geometric Accuracy:** Sphericity error maintained <0.1μm
## Project Results
### Technical Performance Improvement
– **Measurement Accuracy:** Improved from ±0.3μm to ±0.1μm
– **Thermal Stability:** Temperature influence reduced by 70%
– **Long-term Stability:** Accuracy retention period extended to 5 years
– **Equipment Reliability:** Failure rate reduced by 80%
### Economic Benefits
– **Calibration Frequency:** Reduced from monthly to quarterly
– **Maintenance Cost:** Reduced by 50%
– **Downtime:** Reduced by 60%
– **Customer Satisfaction:** Improved to 99%
## Technical Innovation
### Material Improvement
– Optimized silicon nitride formula to reduce thermal expansion coefficient
– Improved sintering process to increase material density
– Developed specialized surface treatment technology
– Established strict quality control system
### Application Optimization
– Designed specialized packaging to avoid contamination
– Provided installation and usage guidance
– Established regular inspection services
– Developed predictive maintenance system
## Customer Feedback
“Silicon nitride ceramic balls perform excellently in our coordinate measuring machines, completely solving the impact of temperature changes and long-term wear on measurement accuracy. The stability and reliability of our equipment have significantly improved, providing strong technical support for our competition in the high-end market.”

